Friday, January 8, 2016

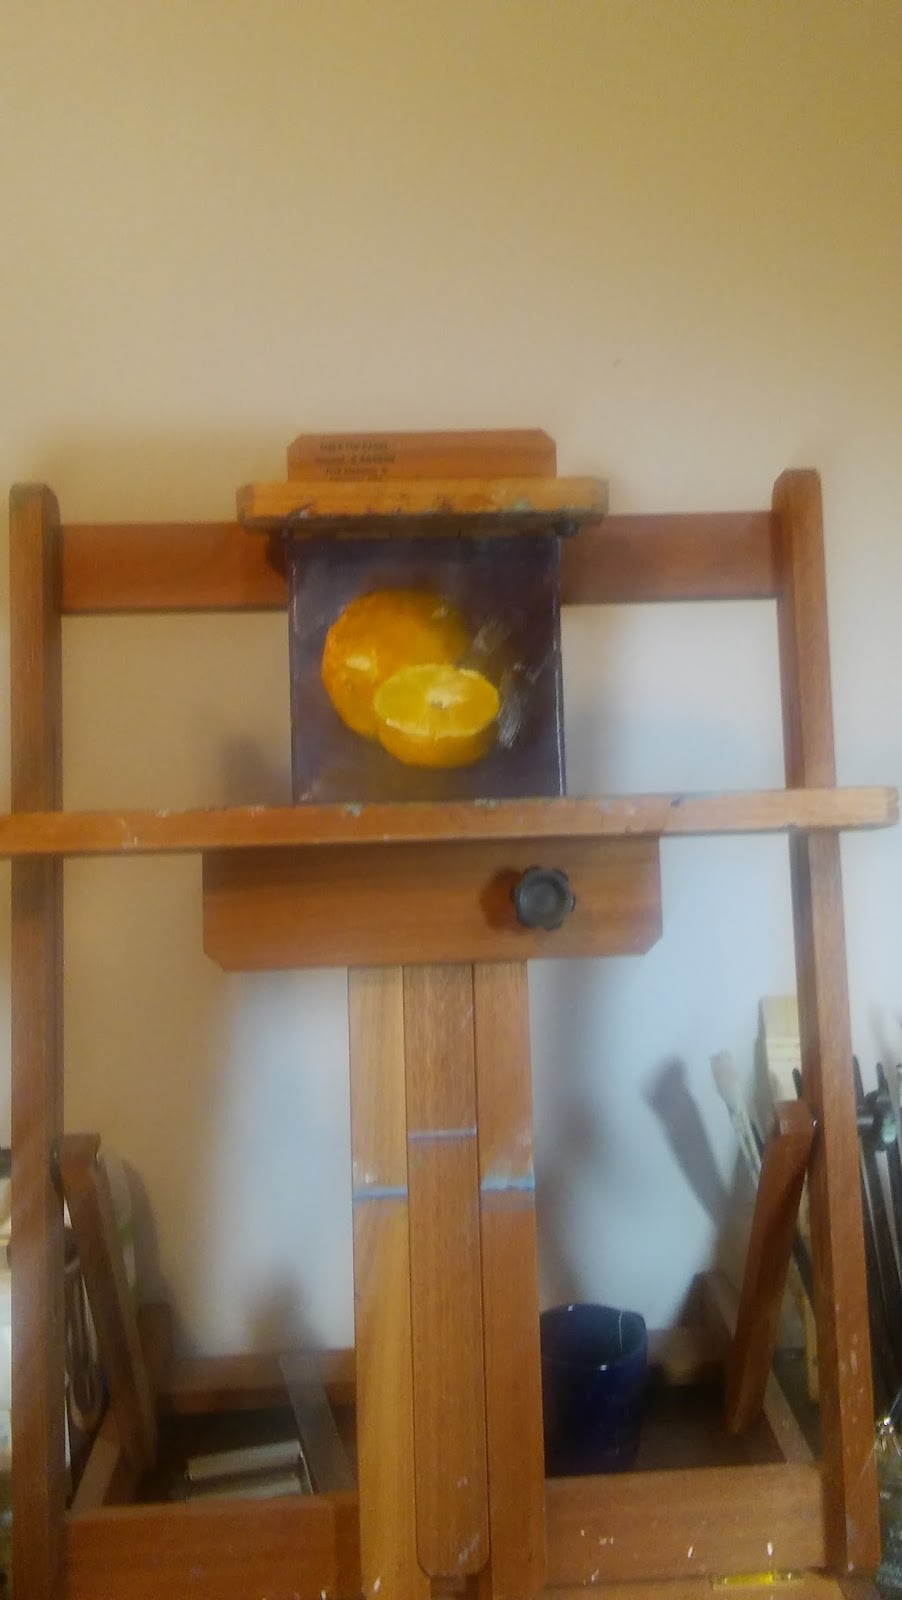
Unit II, Lesson 7--30 in 30 Challenge. Day Seven, Orange Study #3

"Orange Study #3" by Monique Chartier.  6" x 6" oil on stretched linen. 

Just one little orange today.  Hopefully I can catch up soon!

Step One:  Set up the still life.

Step Two:  Tone the canvas.  

Step Three:  Create a value drawing.

Step Four:  Draw the subject on the canvas.


Drawing.


Step Five:  Block in the subject.

Block in.


Some detail.

Step Six:  Refine and add detail as necessary.  You'll see I had to fix the shape of the orange in this stage.

More details.


Step Seven:  Sign it.

Done! 

Day Seven of the 30 in 30 is in the books and on the blog!  You can see it on Leslie Saeta's blog here.  23 little fruit paintings left to create.  Here's what's left in my "Grab-Bag of Lessons":

Grab-bag of Lessons
  • 7 Oranges
  • 9 Apples
  • 7 Pears 
You can access all of the lessons in this unit from the Index of Lessons page here.

As always, please subscribe to follow along or join in.  I'd love to meet you--please introduce yourself in the comments.  Also, your feedback is most appreciated.  Leave your questions, comments, and hate mail below.  (I won't post the hate mail, ha!)  Thanks for stopping by.  Monique

Thursday, January 7, 2016

Unit II, Lesson 6--30 in 30 Challenge. Day Six, Pear Study #3

"Pear Study #3" by Monique Chartier; 6" x 6" oil on stretched linen.

Step One:  Set up the still life.  Today I used back-lighting on the subject.  I aimed the little spotlight up and over the pear from the top and behind it.  

Step Two:  Tone the canvas.  I used Transparent Oxide Red and wiped a lot off with a turpentine-soaked paper towel.

Toned with Transparent Oxide Red + turpentine.
Step Three:  Create a value drawing.

Step Four:  Draw the subject on the canvas.

Very rudimentary drawing to get down proportions and major shadow areas.
Step Five:  Block in the subject.

Darkest shadow area block-in.  It looks like a narwhal!


Block-in complete.
Step Six:  Refine and add detail as necessary.

Taking form!
Step Seven:  Sign it.

Done!

Day Six of the 30 in 30 is in the books and on the blog!  You can see it on Leslie Saeta's blog here.  24 little fruit paintings left to create.  Here's what's left in my "Grab-Bag of Lessons":

Grab-bag of Lessons
  • 8 Oranges
  • 9 Apples
  • 7 Pears 
You can access all of the lessons in this unit from the Index of Lessons page here.

As always, please subscribe to follow along or join in.  I'd love to meet you--please introduce yourself in the comments.  Also, your feedback is most appreciated.  Leave your questions, comments, and hate mail below.  (I won't post the hate mail, ha!)  Thanks for stopping by.  Monique

Wednesday, January 6, 2016

Unit II, Lesson 5--30 in 30 Challenge. Day Five, Apple Study #1

"Apple Study #1" by Monique Chartier, 6" x 6" oil on linen
I've been sick, so I'm a bit behind.  Also (or consequently?), this is not my best work.  So, I'll just consider it a "sketch."  What is important is that I got in the studio and painted!

Step One:  Set up the still life.

Step Two:  Tone the canvas.

Step Three:  Create a value drawing.

Step Four:  Draw the subject on the canvas.

Step Five:  Block in the subject.

Block in.


Step Six:  Refine and add detail as necessary.

Some details.


Step Seven:  Sign it.

Done!


Day Five of the 30 in 30 is in the books and on the blog!  You can see it on Leslie Saeta's blog here.  25 little fruit paintings left to create.  Here's what's left in my "Grab-Bag of Lessons":

Grab-bag of Lessons
  • 8 Oranges
  • 9 Apples
  • 8 Pears 
You can access all of the lessons in this unit from the Index of Lessons page here.

As always, please subscribe to follow along or join in.  I'd love to meet you--please introduce yourself in the comments.  Also, your feedback is most appreciated.  Leave your questions, comments, and hate mail below.  (I won't post the hate mail, ha!)  Thanks for stopping by.  Monique

Monday, January 4, 2016

Unit II, Lesson 4--30 in 30 Challenge. Day Four, Pear Study #2

"Pear Study #2" by Monique Chartier.  6" x 6" oil on linen.
Today I chose to paint a Red D'Angou pear.  This one was difficult for me.  It is red with a yellow side, and I struggled with hue versus value, I think.  It took me awhile, but I think I got it.

Step One:  Set up the still life.  Now that I think about it, this little guy gave me trouble before I even started.  Somewhere along the way, its stem fell off.  To give myself some sort of reference, I picked the stem off of the green pear I painted yesterday and just perched it on top.  Ha ha!

Step Two:  Tone the canvas.  This was lots of fun.  I used Alizarin Permanent + Ultramarine Blue for the top, Viridian Green for the middle, and Cadmium Yellow Light for the bottom.  

Step Three:  Create a value drawing.

Step Four:  Draw the subject on the canvas.  I used Transparent Oxide Red thinned with turpentine to draw on the canvas.  Then I spilled the turpentine all over my palette and paints.  Some days . . . .

Step Five:  Block in the subject.

Starting the block-in with the darkest dark.


Blocking in the rest of the canvas.
Step Six:  Refine and add detail as necessary.  This part took the longest.  The values and hues were giving me trouble, and you'll see there's a dent on the side of the pear that seemed interesting at first, but just proved challenging to render realistically.  I learned a lot with this one (like, don't choose to paint a dented red and yellow pear that lost its stem).

Almost finished adding detail.
Step Seven:  Sign it.  I signed it on my lower left because the painting is weighted toward the right.

Finished!
Day Four of the 30 in 30 is in the books and on the blog!  You can see it on Leslie Saeta's blog here.  26 little fruit paintings left to create.  Here's what's left in my "Grab-Bag of Lessons":

Grab-bag of Lessons
  • 8 Oranges
  • 10 Apples
  • 8 Pears 
You can access all of the lessons in this unit from the Index of Lessons page here.

As always, please subscribe to follow along or join in.  I'd love to meet you--please introduce yourself in the comments.  Also, your feedback is most appreciated.  Leave your questions, comments, and hate mail below.  (I won't post the hate mail, ha!)  Thanks for stopping by.  Monique

Sunday, January 3, 2016

Unit II, Lesson 3--30 in 30 Challenge. Day Three, Pear Study #1

"Pear Study #1" by Monique Chartier.  6" x 6" oil on linen.
Today I chose to paint one little, lonely pear.

Step One:  Set up the still life.

Single pear still life set-up.
 You can see here why it is so important and helpful to paint from life.  The photograph simply does not convey what I could see from life.

Step Two:  Tone the canvas.

6" x 6" stretched oil-primed linen canvas primed with Cadmium Red Deep thinned with turpentine.
I primed my canvas with Cadmium Red Deep because red is complimentary to the pear's green color.  Also, you can't tell from the photograph of the set-up, but the pear was mostly light yellow-green with little swathes of red, which looked a lot like Cadmium Red Deep to me.  I thought that if some poked through, it would add to the painting.  (And, I'm still out of Alizarin Permanent.)

Step Three:  Create a value drawing.

Step Four:  Draw the subject on the canvas.

Still life drawing with Transparent Red Oxide thinned with turpentine.
Step Five:  Block in the subject.

The ugly stage.  But I'm not so bothered.  Really, I'm not . . . . 
I chose to use Viridian Green and Cadmium Red as my background color, tinted up in value as necessary.  For the very deep part of the shadow, I added Ultramarine Blue.

Step Six:  Refine and add detail as necessary.

And, the fun part!  I love watching it take form.
Step Seven:  Sign it.

Finishing touch.
From start to finish, this took about three hours.  But, that included making and eating dinner during that three hours.  It felt like it went pretty quickly when I was actually painting.  

Day Three of the 30 in 30 is in the books and on the blog!  You can see it, and many fantastic works, on Leslie Saeta's blog here.  27 little fruit paintings left to create.  Here's what's left in my "Grab-Bag of Lessons":

Grab-bag of Lessons
  • 8 Oranges
  • 10 Apples
  • 9 Pears 
You can access all of the lessons in this unit from the Index of Lessons page here.

As always, please subscribe to follow along or join in.  I'd love to meet you--please introduce yourself in the comments.  Also, your feedback is most appreciated.  Leave your questions, comments, and hate mail below.  (I won't post the hate mail, ha!)  Thanks for stopping by.  Monique

Saturday, January 2, 2016

Unit II, Lesson 2--30 in 30 Challenge. Day Two, Orange Study #2

"Orange Study #2" by Monique Chartier.  6" x 6" oil on linen.
Today I chose to paint another orange still life, this time with one orange cut in half laying next to another.  By the way, these are the "Cuties" type mandarins.  They have a deep orange skin and the flesh almost glows in the light.  I have lots left ('tis the season).

Step One:  Set up the still life.

Step Two:  Tone the canvas.  I toned my canvas here with Ultramarine Blue and Transparent Oxide Red, mostly because I'm nearly out of Alizarin Permanent.  More is on the way, thank goodness!  Although, the Transparent Oxide Red looked great, too.

Step Three:  Create a value drawing.  I struggled a bit with the composition of this one because I didn't want to crop out any of either orange, but by not cutting off any edge, the cut orange falls within the midline of the canvas, which, in general leads to a contrived, distracting composition.  Here, however, I decided it was okay for a few reasons.  First, the whole orange in the background and the cut piece form one shape unit, which as a whole is not placed on the midline.  Second, because 1/3 to 1/2 of each orange is in shadow and with this style the dark edges blend into the background shadow, the ellipse shape of the cut orange face is not overly distracting.  I don't think, anyway.  It seems to work.

Step Four:  Draw the subject on the canvas.


Step Five:  Block in the subject.


The ugly part--the block in.  I am always uncomfortable at this point because it seems like the painting could never work.  But, it usually does.  Well, sometimes.  At least I'm getting more comfortable with the discomfort of it.    

Ohhh, and by the way, I've been using Cadmium Orange, which I happened to have, for these last two studies.  Because the mandarins are so vibrant, in places I'm using it straight from the tube (with a little bit of Liquin, too).

Oh, and by the way again, time to confess that this is actually my third painting.  I'm painting ahead.  I didn't post the second one because it was so terrible.  I didn't try to salvage it.  Instead, I wiped it clean.  Here is the oil-primed linen canvas after a turpentine bath.

Good as new!
Seriously, you can't tell there was a horrific abomination there at all, and I didn't have to throw out my canvas.  Love oil-primed linen.

Step Six:  Refine and add detail as necessary.


Step Seven:  Sign it.


Day Two of the 30 in 30 is in the books and on the blog!  You can see it, and a bunch of awesome paintings, on Leslie Saeta's blog here.  Here's what's left in my "Grab-Bag of Lessons":

Grab-bag of Lessons
  • 8 Oranges
  • 10 Apples
  • 10 Pears 
Now, to eat my prop . . . .

You can access all of the lessons in this unit from the Index of Lessons page here.

As always, please subscribe to follow along or join in.  I'd love to meet you--please introduce yourself in the comments.  Also, your feedback is most appreciated.  Leave your questions, comments, and hate mail below.  (I won't post the hate mail, ha!)  Thanks for stopping by.  Monique

Friday, January 1, 2016

Unit II, Lesson 1--30 in 30 Challenge. Day One, Orange Study #1

"Orange Study #1" by Monique Chartier.  6" x 6" oil on linen.
Happy New Year!  Today I challenged myself to paint oranges.  I set up a single little mandarin orange with a cut section from another.

(P.S.  I actually painted this on Christmas day.  It is okay to "paint ahead.")

Step One:  Set up the still life.  Here, I tried to be aware of several concepts while setting up the still life, including:

  • Avoid tangents
  • Avoid lines moving out of the composition
  • Keep an uneven distribution of dark to light values (this painting is "low key," or dark value dominant)
  • Locate the "focal point" and plan to emphasize it using color, tone, and lines 

Step Two:  Tone the canvas.  I like to work with a canvas toned with color and wiped with turpentine on a paper towel.  This cuts the white on the canvas.  It also allows me to "draw" and lift the lights of my subject with a brush dipped in turpentine when I draw my subject in Step Four.  I only use turpentine at his stage because the smell is so strong, but I prefer it to odorless mineral spirits (OMS) at this stage because it dries a bit faster.  While I'm painting, I clean my brushes with OMS.  

I toned my canvas here with a muted transparent purple mixture of Ultramarine Blue, Viridian Green, and Alizarin Permanent.  I chose a purple because it is the opposite or complimentary color of the lightest hue in my arrangement, which is yellow.  When painting alla prima (wet-into-wet), some of the toned color will peek through in the brush strokes, and a complimentary color adds interest.  Although my still life box is black, I planned to make the background more blue for interest and because it is the complimentary color of the main orange subject.

Step Three:  Create a value drawing.  I planned the subject using my tiny sketchpad and dark pencil.  This helps me decide where the lightest lights and darkest darks are, and it helps me decide where exactly on the canvas the drawing should go, including whether to crop edges of the subject.

Step Four:  Draw the subject on the canvas.  I "draw" using a brush dipped in turpentine to lift the lightest areas while I draw with paint thinned with turpentine.  Usually I use my value drawing as a reference, rather than referring to the still life set up.

Step Five:  Block in the subject.  Focusing on the main shapes and lights and darks, I blocked in my main subject.


Step Six:  Add detail as necessary.  I wanted to keep this painting fairly simple, so I concentrated on stopping when there was enough detail to make out the subject, but not so much that it overwhelmed the small format painting.  I added texture to the skin of the orange here.


Here, I've added more details (the stem and highlights).


Step Seven:  Sign it!  I use a rubber-tipped wipe-out tool to sign my paintings when they are still wet.  It removes the paint, rather than adds it on top.  You can buy a similar one here.


Day One of the 30 in 30 challenge is in the books and on the blog.  You can see it on Leslie Saeta's blog here (it is No. 51).

Here's what's left in my "Grab-Bag of Lessons":

Grab-bag of Lessons
  • 9 Oranges
  • 10 Apples
  • 10 Pears 
You can access all of the lessons in this unit from the Index of Lessons page here.

As always, please subscribe to follow along or join in.  I'd love to meet you--please introduce yourself in the comments.  Also, your feedback is most appreciated.  Leave your questions, comments, and hate mail below.  (I won't post the hate mail, ha!)  Thanks for stopping by.  Monique